Last updated on May 4th, 2023
They say a picture is worth a thousand words, which is one of the reasons images are so important in ecommerce. Without the customer being able to pick up, touch and inspect product, they rely heavily on the images to understand the color, the quality, and the story of the product.
So it goes without saying that your images need to be hi-resolution and crisp. But, this comes at a price. Large, high definition images can have huge file sizes. Put a few of these on your site and that snappy experience of navigating your online store can end up feeling more like swimming through molasses.
Not only will this cause visitors to bounce, but in time, Google will notice as well, and this can affect your SEO.
In ecommerce, it’s critical to find a good balance between image quality and image file size when you save an image for your site.
I’m going to show you how to do just that in this post.
- If you’ve been known to take a product photo and upload it directly to your store, this tutorial is for you.
- Do you have no formal knowledge or process for saving images with file size in mind, this tutorial is for you?
- If your site has tons of images and things are feeling sluggish, this tutorial is for you.
- If you haven’t started building your online store yet, this tutorial is especially for you.
Ready to optimize your images?
Image File Type Options
There are three main file types we’ll want to focus on for saving images optimized for the web: GIF, JPG and PNG. Each file type has its own strengths and weaknesses and it is very important to know and keep these in mind when saving an image.
WORKING WITH JPGS
JPGs (also known as JPEGs) are the most popular file type for images on the web. This files are perfect for photographs, or complex images containing lots of colors, shadows, gradients, or complex patterns. JPGs handle these type of images well because JPGs have a huge color pallet to work with.
JPGs can also be saved in in high quality, low quality or anywhere in between. This allows you to adjust and save the image exactly how you want, balancing quality and file size.
WORKING WITH PNGS
PNGs are another popular file format online. In Adobe Photoshop, you’ll have the option to save PNG’s as PNG-8 or PNG-24.
PNG-8 has a very limited color pallet of 256 colors. While the image size is smaller, this wont be a good option for complex images and photographs.
PNG-24 provides a much higher quality image but comes at the cost of a larger file size.
Most importantly, PNGs can handle transparency. This is one of the biggest differentiation points between PNGs and JPEG’s.
WORKING WITH GIFS
GIFs were more popular many years ago, but are still an option for small image sizes where only a few colors are needed. Much like PNG-8, GIF files are restricted to only 256 colors. Because of this, GIFs should never be used for product photos.
JPEG
PNG
GIF
Saving Images Properly
As can be expected, large images take longer to load. When I say large, I’m referring to file size rather than the dimensions of an image, i.e. the value in KB, MB, GB etc. Seeing as 47% of users expect a webpage to load in under 2 seconds, and 40% will abandon a page that takes more than 3 seconds to load, it’s important that your images are small enough to ensure a speedy site.
There are three things you can do to properly optimize your images for your online store:
1. SAVE THE RIGHT DIMENSIONS
You must open the image in Photoshop and view it at a 100%. This allows you to view the image at the exact size it will be displayed on a computer monitor when you save the image for web.
2. SAVE IMAGES FOR WEB
It’s possible to reduce the file size without significantly reducing the quality of your images. My favorite method of reducing file size without significantly reducing the quality of the image is to use use Photoshop’s ‘Save for Web’ function. Open your image in Photoshop and go to File > Export > Save for Web (Legacy)…. A window will appear which will allow you to choose your export quality. I find that a quality of 60 works best because it drops the file size down to below a megabyte and there’s no noticeable difference in quality.
3. COMPRESS IMAGES FOR WEB
Image compression apps are the easiest way to reduce file size of images. These types of tools remove hidden data in the image file like additional color profiles and metadata (like geolocation of where the photograph was taken) that aren’t needed.
These tools provide a quick and easy way to reduce files size without losing any image quality.
Image Compression Apps/Services
- TinyJPG | TinyPNG
- Compressor.io
- Kraken
- ImageOptimizer
- ImageOptim
- Crush Pics (Shopify App)
- Minifier (Shopify App)
Saving an Image for Web
Walk-through Example
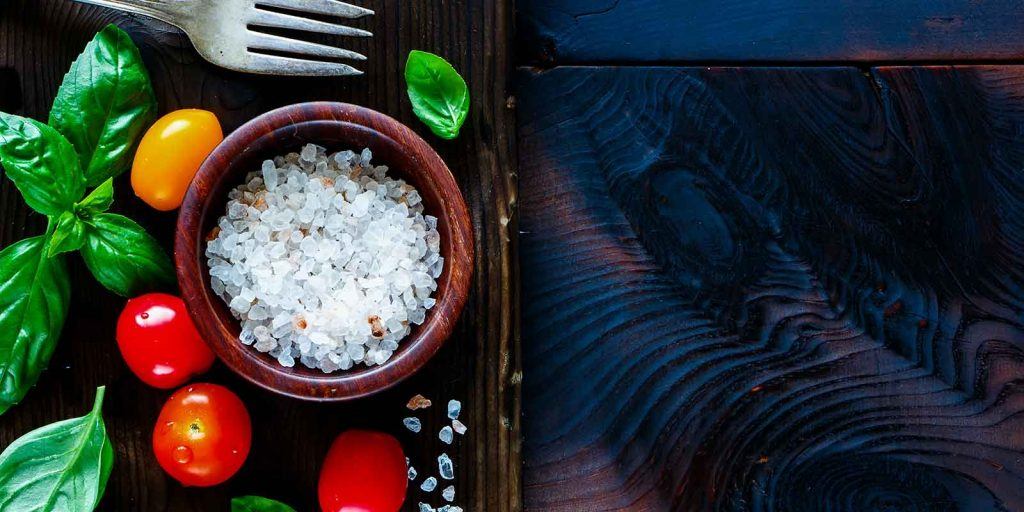
To begin, let’s pretend we are Stiff Salt (actually owned by a friend and Shopify Developer) and we wanted to change our feature image on our online store.
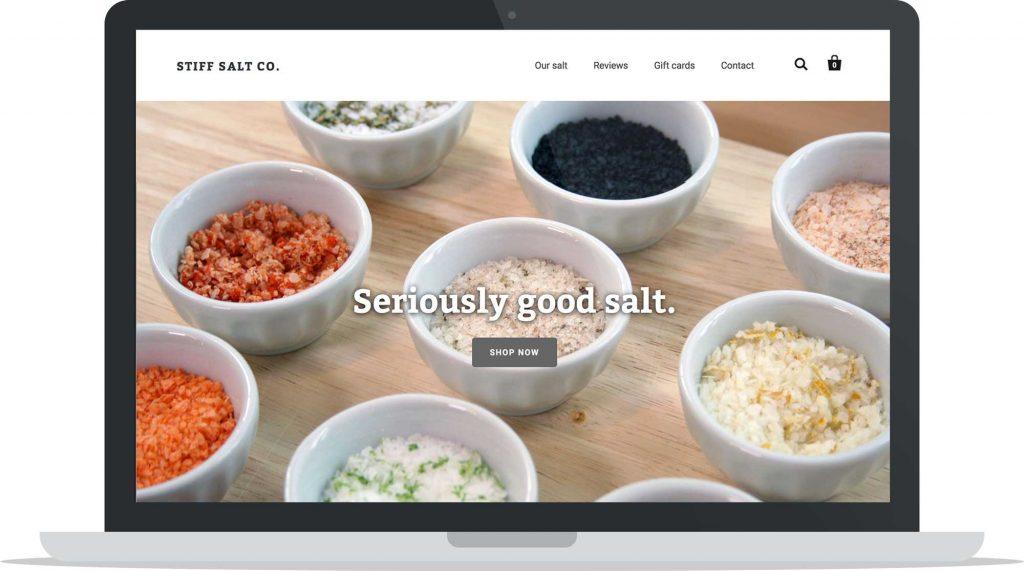
We set up a scene, make our salt look absolutely incredible and we take a photo with a DSLR camera. Great we have our photo. What a beauty!
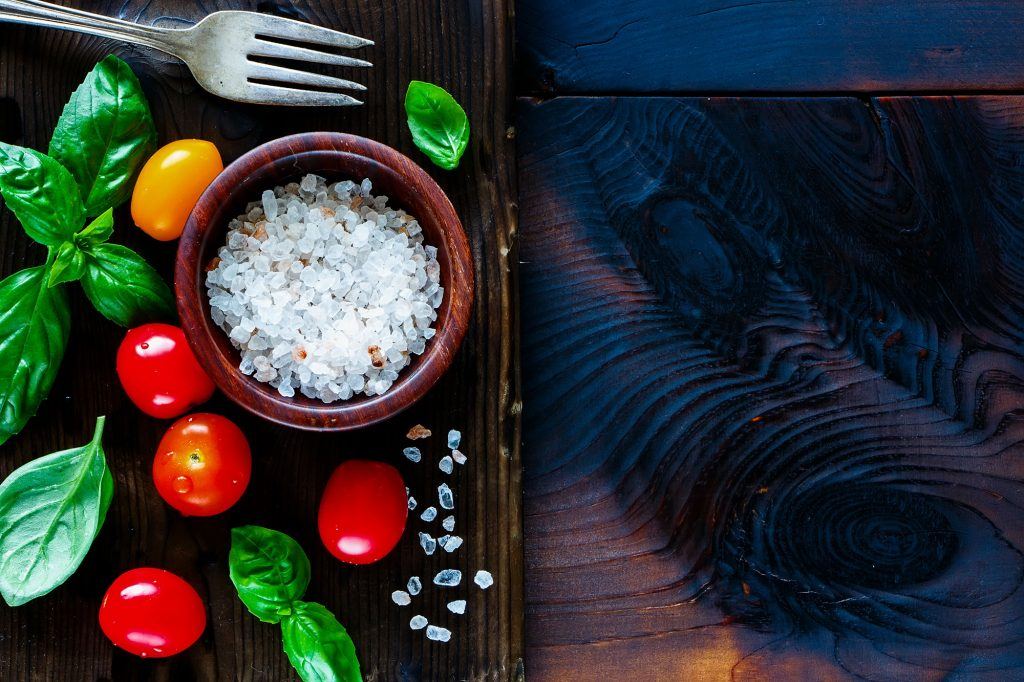
But… the file size is HUGE! 14.6 MB to be exact. And the dimensions of the photo are 5184 × 3456 pixels. This is completely unusable right now. It’s literally big enough to print a movie sized poster. At 14.6 MB, this image would take significant time to load on a visitor’s computer. This is no good.

It’s time to get to work and reduce the image size, and the file size – significantly.
Remember, we’re going to be doing three things to the image.
- Reduce Image Size (This is the dimensions of the photograph)
- Save the Image Appropriately to Reduce File Size (This is the size of the file and how much space it takes on your computer’s hard drive and/or your web server.
- Compress the Image File (To get rid of any additional hidden data taking up space)
REDUCE IMAGE SIZE
Depending on which program you decide to use, and personal preference, you can:
- Reduce the image size before saving
- Reduce the image size while saving the image
- Save the image, then reduce the image size
Keeping things simple, we’re going to first reduce the image size. To do this, I’m going to open the image in Photoshop (You can use whatever image program you feel most comfortable with).
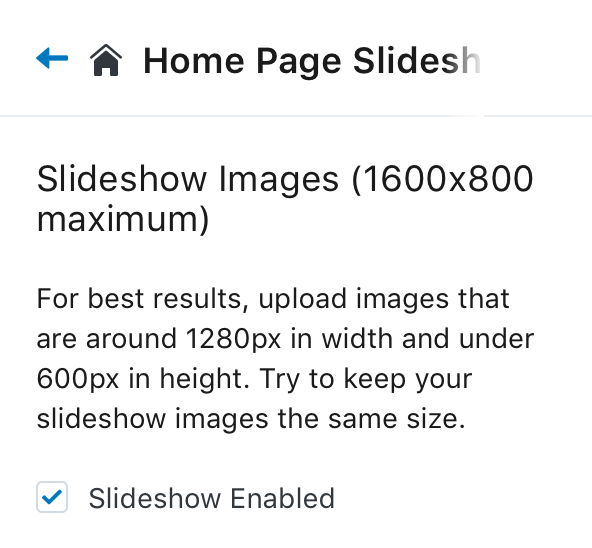
Figuring out what size, I looked at the theme’s suggested homepage image size. It was 1600×800 pixels (Remember the original was 5184 × 3456 pixels).
In Photoshop, I’m going to select Image -> Image Size.
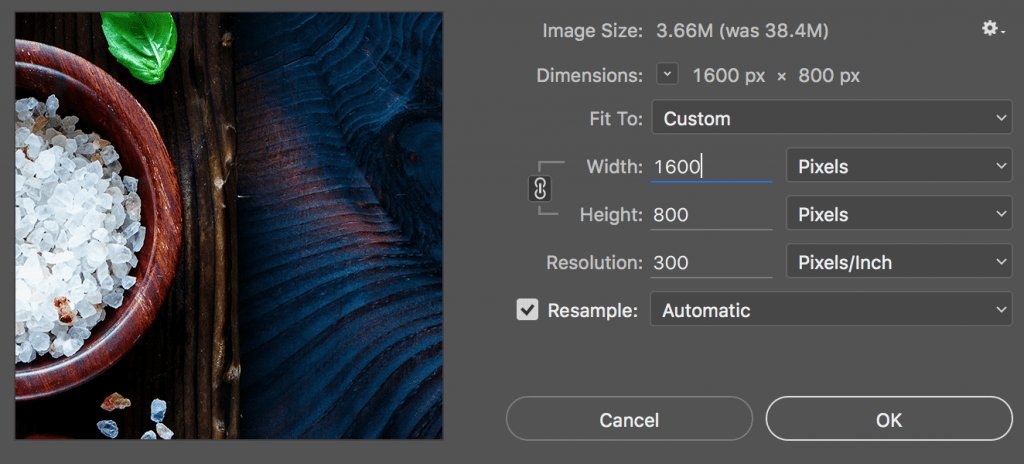
Ok, we’ve reduced the size (dimensions) of the image to something more appropriate and recommended by the theme developer.
SAVE IMAGE APPROPRIATELY (SAVE FOR WEB)
In Photoshop, there’s a specific command called “Save For Web” that optimizes the image file for displaying online. This is important as the regular “Save” command can end up creating file sizes 2-3 times larger than the “Save For Web” command.
In the “Save For Web” box, we need to make a few selections.
- Image Type: The file type will affect the quality and size of the output file.
- Image Quality: This is important and can heavily effect the final file size.
- Dimensions: We already did this in the first step, so there’s no need to do it again, but if we didn’t do this in the first step, we could just change the dimensions for the image here.
Based on what we learned at the beginning of this post, we know that JPEG is the best file type for photographs, or any image with lots of colors and complexity. We will select JPEG.
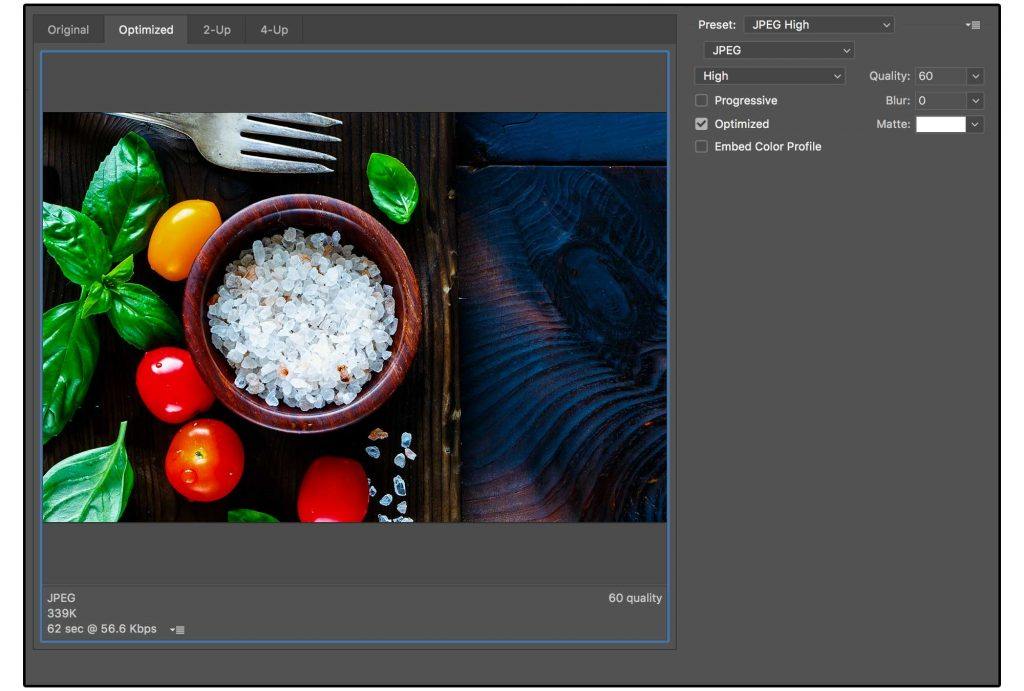
For Image Quality, you have a scale you can select with 5 presets that range from Maximum to Low. Let’s take a look at the final output file size of each of the quality levels (this information is displayed in the bottom corner o the image saving window):
- Maximum – 1.38 MB
- Very High – 611 KB
- High – 339 KB
- Medium – 152 KB
- Low – 86k
You can see that for every quality level you go down, the image size reduces by nearly half. In general, I’ve found that High is best setting for most images. At this level, it’s nearly impossible for the human eye to see any degradation in image quality, and the file size is nearly 4x smaller than if we were to just select maximum.
If the image is an extremely important image with a lot of detail, you may want to select a level higher and save at Very High.
Essentially, saving for the web is a balancing act — you must balance the quality of the graphic and the file size of the media to suit your personal needs.
COMPRESS IMAGES FOR WEB
If you used Adobe Photoshop, it will have already done a really great job at reducing the image size, however, you can still likely shave off another 5-10% of image size by using a compression app like Kraken.
Kraken is also the easiest way to quickly reduce image file size, if you have used another program to save your images that isn’t as good as Photoshop.
Dropping each of the files from the previous step into Kraken, I was able to further reduce the image size by another 5%. Not huge, but again, these were already optimized with Photoshop. Regardless, every KB counts.
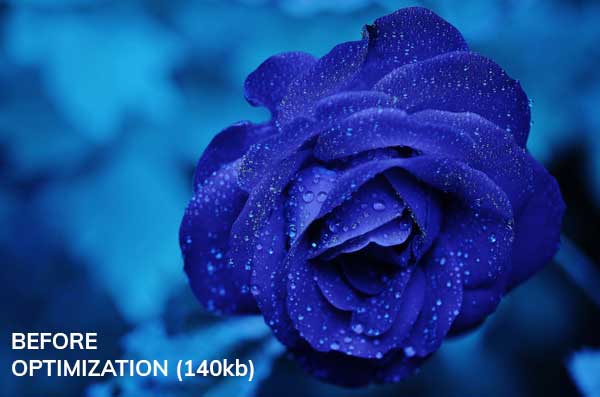

Notice any difference?
Although there is no visible difference the image after optimization has a smaller file size, allowing faster response times.
Conclusion
To recap, our photo was insanely huge when we started. However, with a few simple steps, we reduced the photo size from 5184×3456 to 1600×800 so that it’s a perfect fit for our homepage, and at the same time, took it from a computer-crashing 14.4mb, down to a much more reasonable 336kb.
Saving images appropriately for the web is an important step to learn early and implement religiously. Even if you only save 10-20% on each image, over time, as your store and website grows, every little KB can add up to some significant savings that will lead to a much more pleasant overall experience for your visitors, customers, and Google.


Recent Comments